Insights•3.5 min read
How to navigate the campus portal?
MC
Manish Chuadhary
Nov 26, 2025 3.5 min read
#education

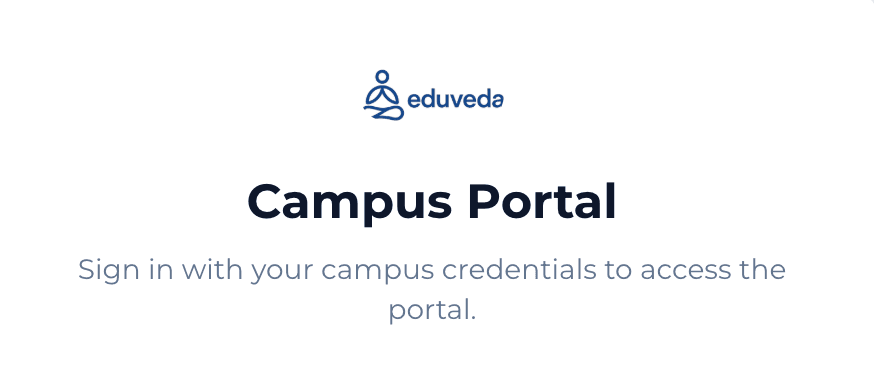
Sign in to the portal (What you see first)
Note : "Only desktop version....!"
What to do
- Open
https://campus.eduveda.academy/ - Enter your campus email in the Email field (example shown:
rakshit.placements@nitsri.ac.in). - Enter your password and click Sign in.
What’s on the screen
- Centered login card with Eduveda logo and headline Campus Portal.
- Fields: Email and Password, and a prominent Sign in button.
- The login page is clean and focused — if you see errors, check your email spelling or use the institution’s password reset flow.
Troubleshooting & tips
- If you forget your password, use the institution’s password reset (or contact your TPO/IT).
- Use campus-provided email accounts only; personal addresses may not work.
- For security, sign out after use if you’re on a shared computer.

Campus profile / Dashboard (First page after sign-in)
What to do
- After signing in you land on the campus dashboard/profile. This is the hub for campus-level info and placements.
What’s on the screen
- Campus name and welcome banner at top: large campus title (e.g., National Institute of Technology Srinagar).
- Campus Code displayed near the top (useful for sharing/collaboration).
- A square campus logo image to the left.
- Four summary cards across the page:
- Primary contact (name and role — e.g., Rakshit, TPO)
- Official email (placement contact)
- Phone (contact number)
- Students Hired (aggregate hires across all engagements)
How to use it
- Use the campus code when asked by recruiters or by the portal support team.
- Contact details are the quickest route to Eduveda/placement team communication.
- The “Students Hired” metric shows historical recruitment activity for your campus.

Placement Listings
What to do
- Scroll down the dashboard to the Placement Listings section. Here you’ll see job cards for roles posted for your campus.
What’s on the screen
- A title Job listings for your campus followed by individual job cards.
- Each card features: company name (e.g., Eduveda Academy), role (Business Development Associate), posting date, and quick facts (Location, Package, Seats, Rounds).
- A clear View listing button on each card — click it to open the full job description.
How to interpret quick facts
- Location — where the role is based (e.g., Noida).
- Package — CTC / stipend (e.g., 6.5 LPA).
- Seats — number of positions available.
- Rounds — how many selection stages are planned.
Tips
- Scan postings regularly; new roles are added and some have limited seats.
- Use the card’s quick facts to shortlist which roles match your preferences (location, pay, availability).

Job details page
What to do
- Click View listing on a job card to open its detailed page.
What’s on the screen
- A large card with the company name, role, posting/updated dates.
- An About the opportunity section that includes: position summary, internship/full-time details, stipend/CTC breakdown, benefits, and responsibilities.
- The page contains everything recruiters shared: eligibility, selection formats, timelines, and compensation details.
How to read it
- Read Employment Type (Internship / Full-time) carefully — internship may convert to full-time on performance.
- Check Stipend / CTC section to understand fixed vs variable components. The job details often show both (e.g., ₹15,000 fixed + ₹10,000 variable for internship; full-time CTC 6.5 LPA with breakdown).
- Note Important dates (posting, last update) — these indicate freshness of the listing.
Actions available
- There may be an Apply or portal-specific application flow (follow portal prompts).
- Look for contact or coordination details if you need clarifications.

Selection Journey
What to do
- On the job detail page find the Selection Journey / Rounds section. Study the rounds before applying to prepare.
What’s on the screen
- Numbered list showing each stage in order (example shows 6 rounds):
- Application Received (Others)
- CV Shortlisting (CV Screening)
- Aptitude Test (Examination)
- Group Discussion (GD Round)
- HR Round (HR Interview)
- Final Shortlisting (Others)
How to prepare
- CV Shortlisting: Tailor your CV to the role; highlight relevant projects and experience.
- Aptitude Test: Practice basic quantitative and reasoning questions if listed as a requirement.
- Group Discussion: Work on communication, topical awareness, and teamwork skills.
- HR Round: Prepare for behavioral questions, salary expectations, and career goals.
- Final Shortlisting: Ensure contact details are correct and respond quickly to interview invites.
Why this matters
- Each round’s name indicates the recruiter’s expected evaluation focus — preparing for each increases your chances of advancement.